
Overview of New Print Dialogue Options
With the new driver installed for the Xerox devices on campus, you will notice some differences to how things are laid out in printing preferences when you navigate to File > Print to print out your documents. This document will serve as your reference to the options available to you, and how to utilize them.
Part One: Printing from Office Applications
 Changes to printing options should be done by clicking on the Printer Properties link inside the Print menu highlighted in the adjacent image. Changes made to this section impact the settings of your job on the server, which is important to ensure that the job prints correctly no matter which printer you use.
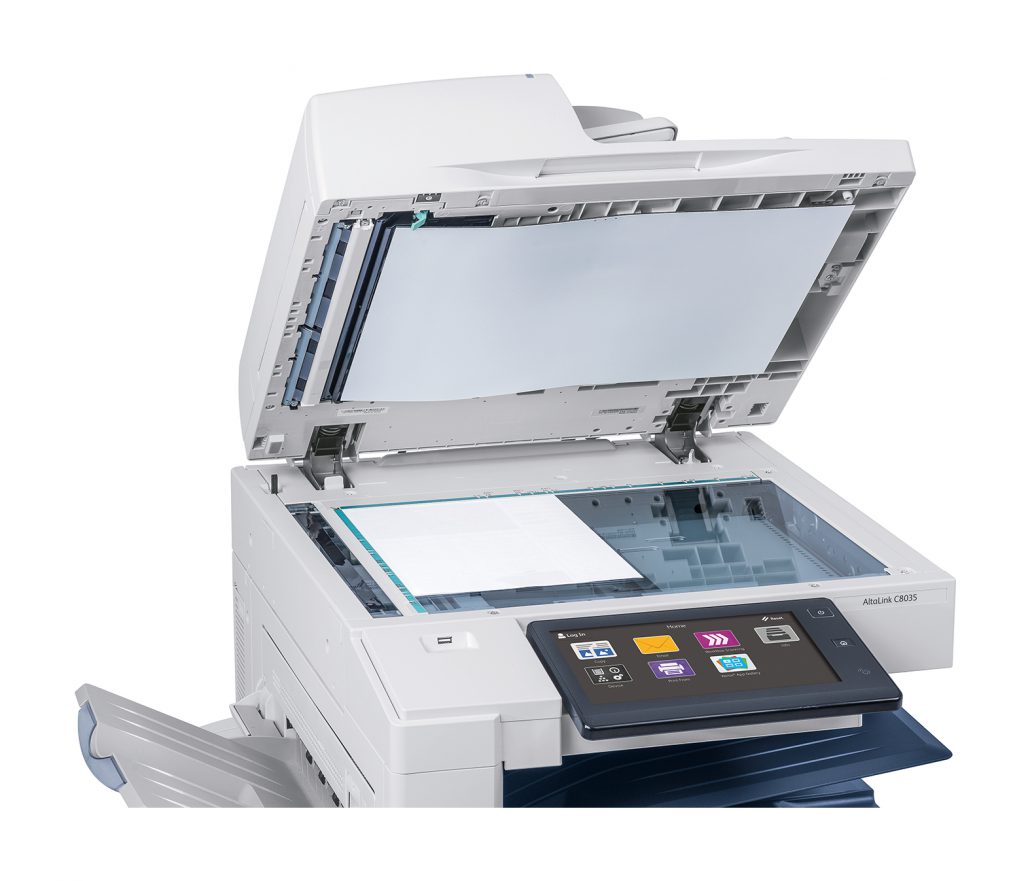
*Note: If you select the option to use Stapling, the job should be completed on one of the larger C8035 and C8055 units, as the smaller desktop units do not have stapling capability.
Please be aware of the following defaults as required by the new COPI agreement:
- All pages print Black and White by default
- All pages must print double-sided by default
We are unable to make changes to these defaults on a user-by-user basis as they are a requirement, and not possible to adjust due to the nature of the new printing system.
Part Two: Printing From Google Chrome
 When printing from Google Chrome, the new print driver does not honor the settings from Chrome’s built-in print menu. In order to access more advanced features, or to print in color, etc. you must use the System Dialogue by pressing the link at the bottom of the Print window, highlighted in the adjacent picture to the left. From there, you can select Preferences to open up the advanced features of the new printers, highlighted below.

Part Three: Print Properties Window
 The following image depicts what you will see when viewing the Printer Properties of a print job. We will go over each of the options available
- The first section allows you to adjust settings such as Paper Type (Letter, Cardstock, Letterhead, Labels, Etc), Color of the paper, and which tray the job prints from. These settings must match what you configured if you loaded special paper into one of the trays. It is recommended that for special jobs that you use the Bypass (Manual Feed) tray, so as not to accidentally have someone else use the printer and also print on your special paper.
- This option controls the 2-sided printing aspect of a job. You can select to have a job print 1-sided, 2 sided, or 2-sided flipped on short edge.
- The finishing section controls the stapling option. Note here that the finishers we have will only do 1 staple, however the driver states that there are other options available in this section.
- This section defines a Color job or a Black and White job.
For any issues with these settings, or with the printers themselves, please submit a helpdesk ticket to our support site at https://support.tusc.kent.edu/helpdesk, and we will be happy to assist you.